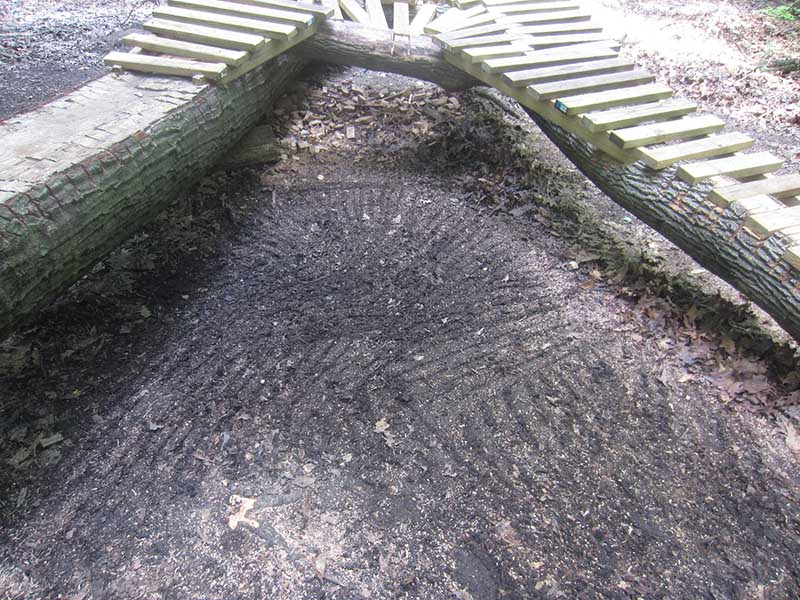
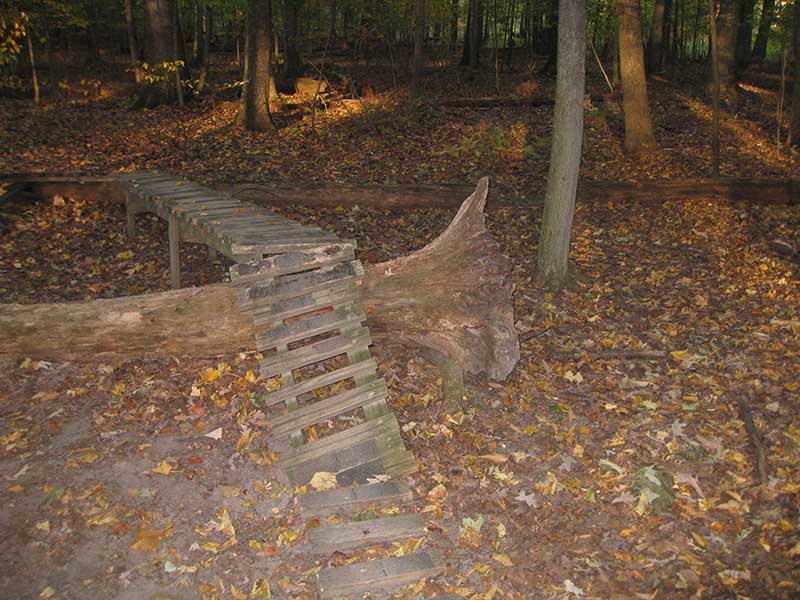
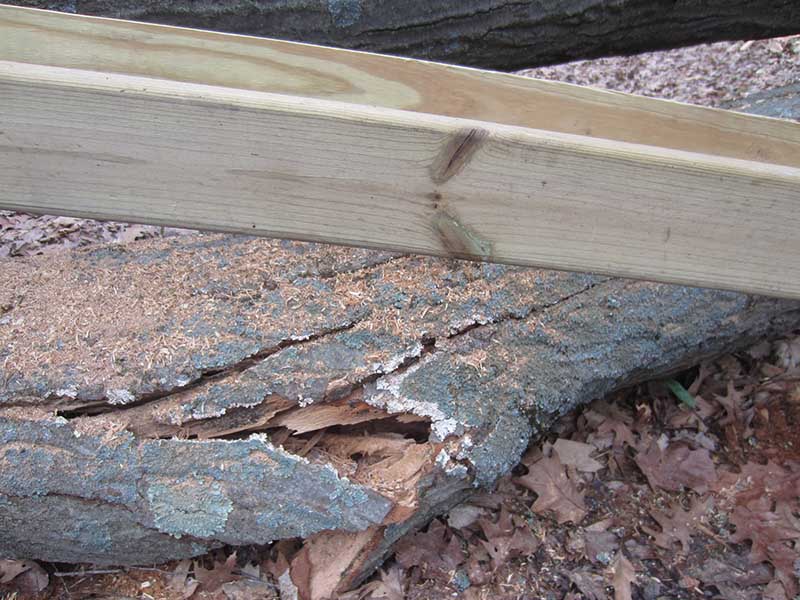
Before the large tree on the left fell, this is what the stunts looked like. As you can see, they were getting pretty old.
The trail coordinator removed all of these lines in the Fall of 2012 ...
... and the big tree fell right across where they had been, sometime in the Winter of 2012/2013. Good timing!
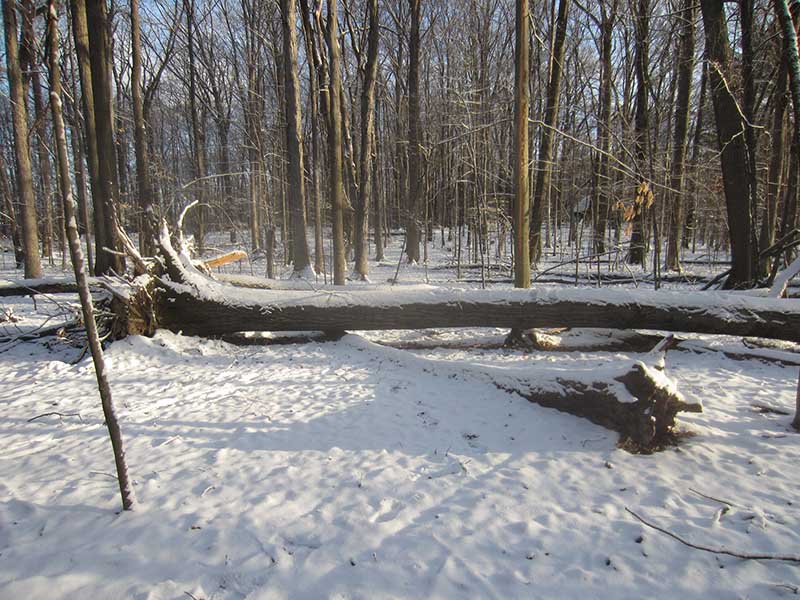
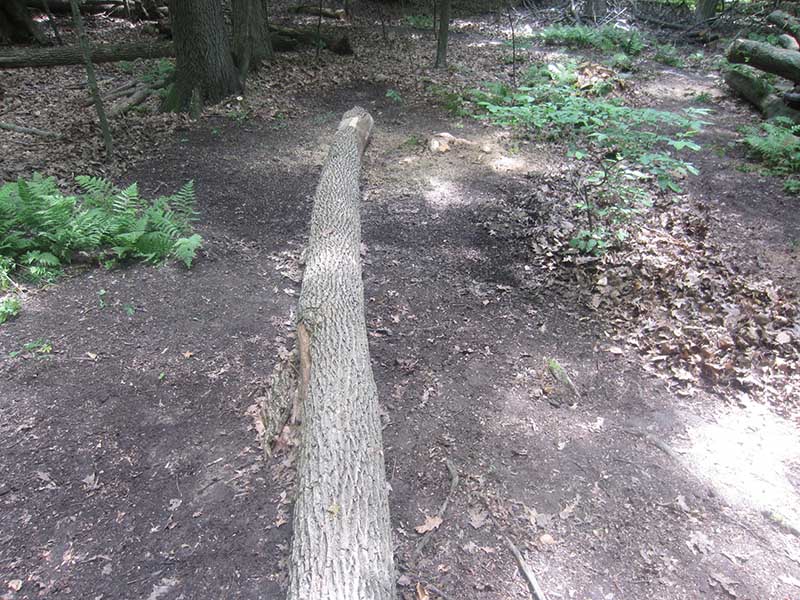
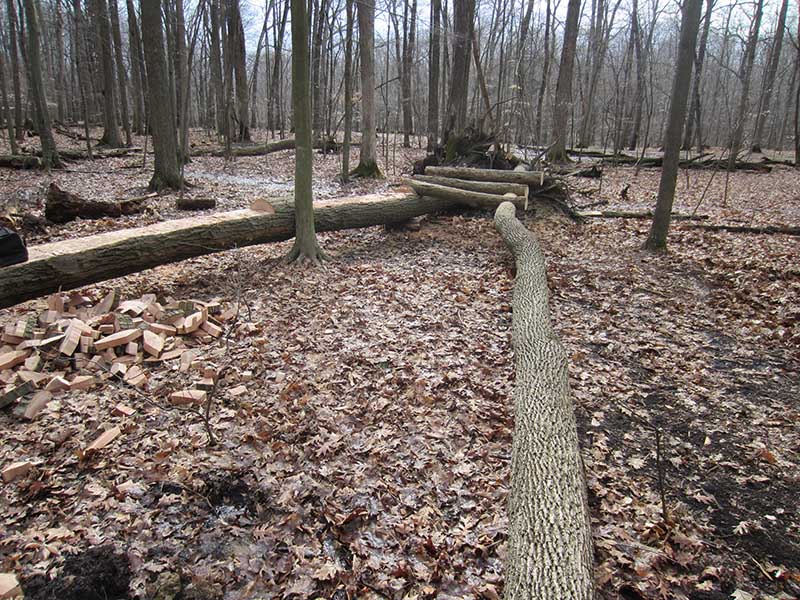
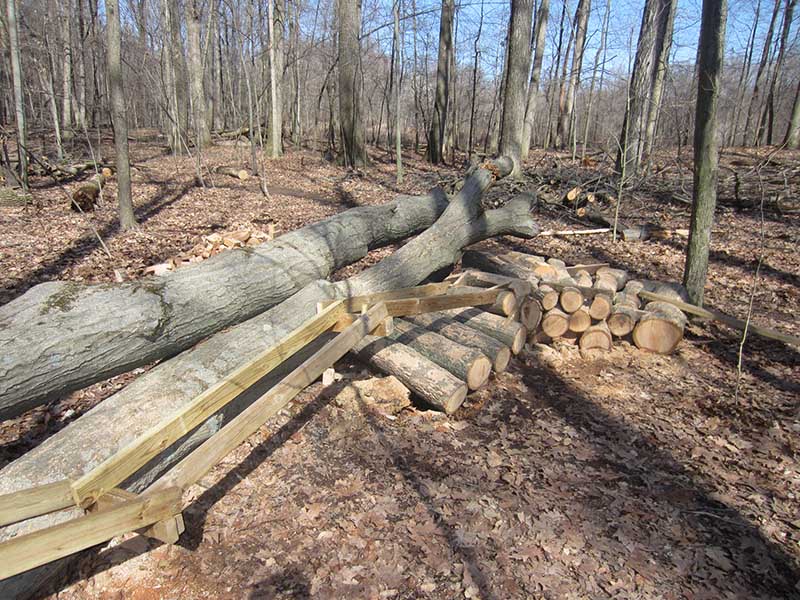
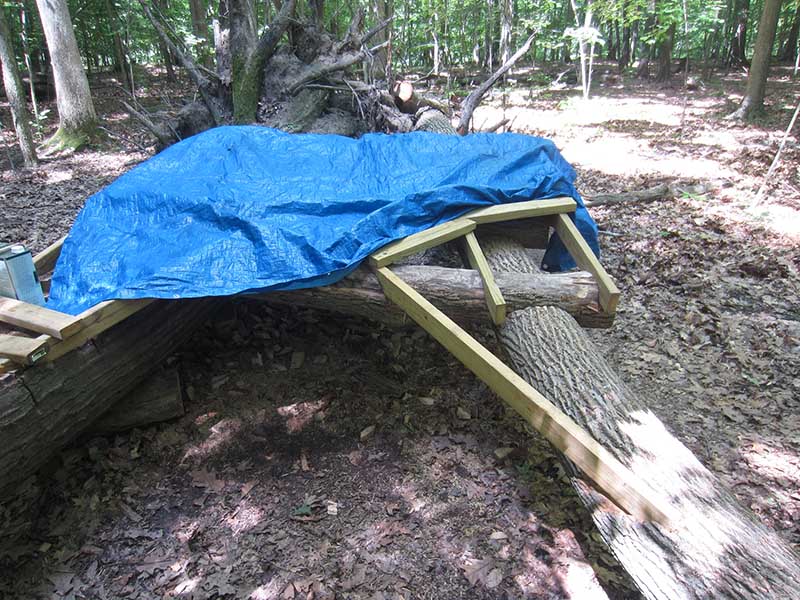
Two trees down, making a possible out-and-back path above the mud.
The view from the rerouted trail, the entrance will be somewhere here. I need to come up with a way to keep inexperienced riders off of it, because the log is high enough above the ground to cause injury if a rider were to fall from it.
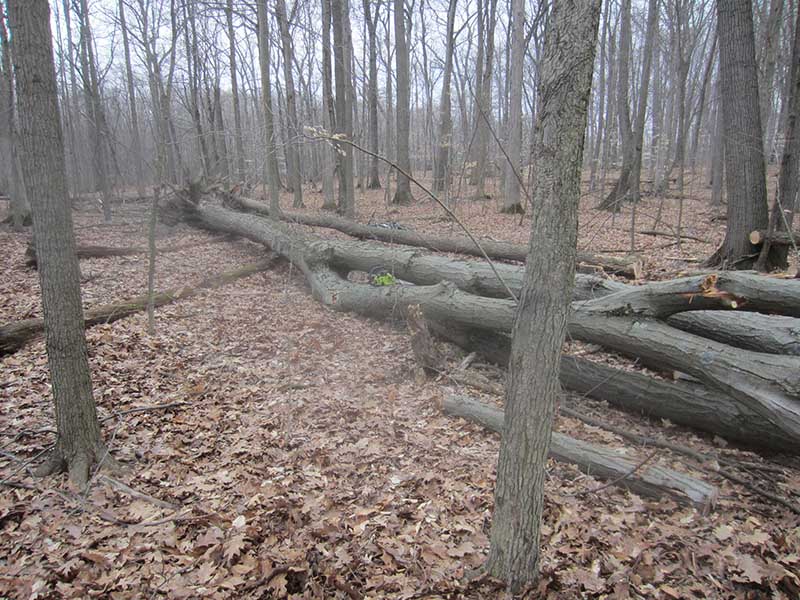
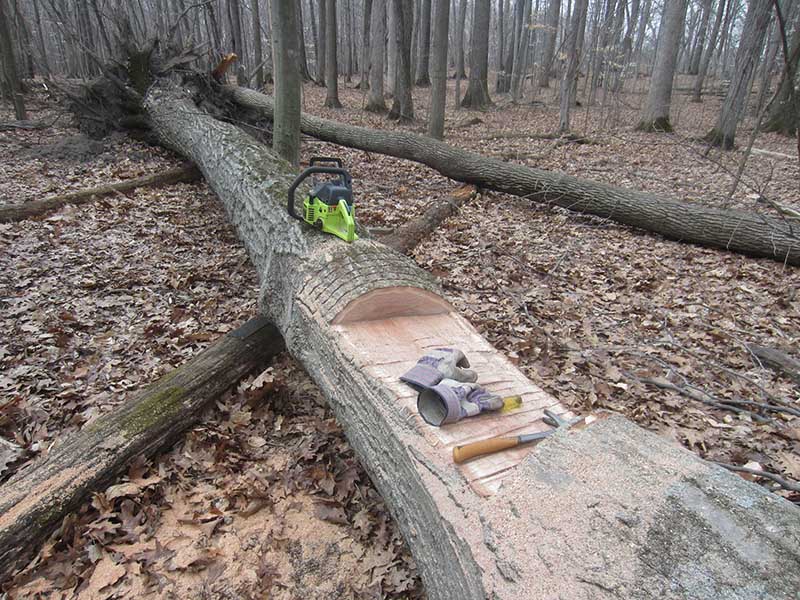
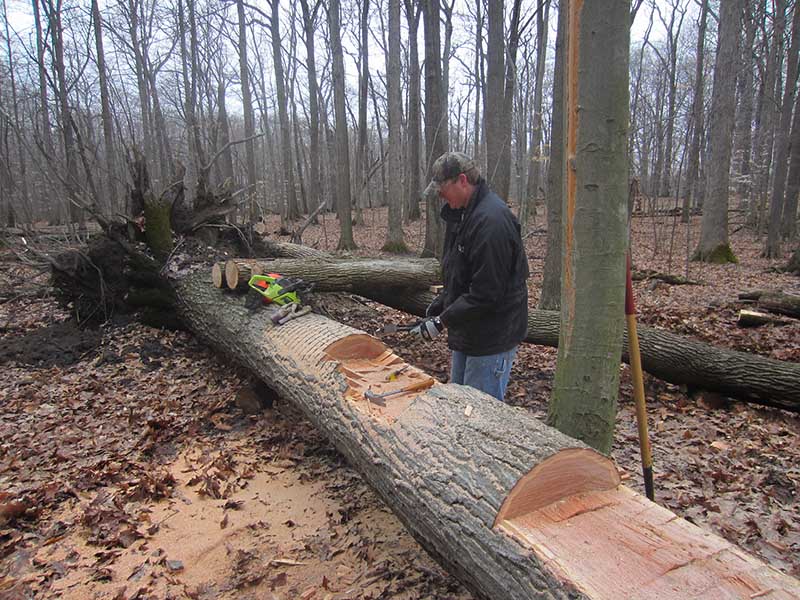
April 7th, 2013
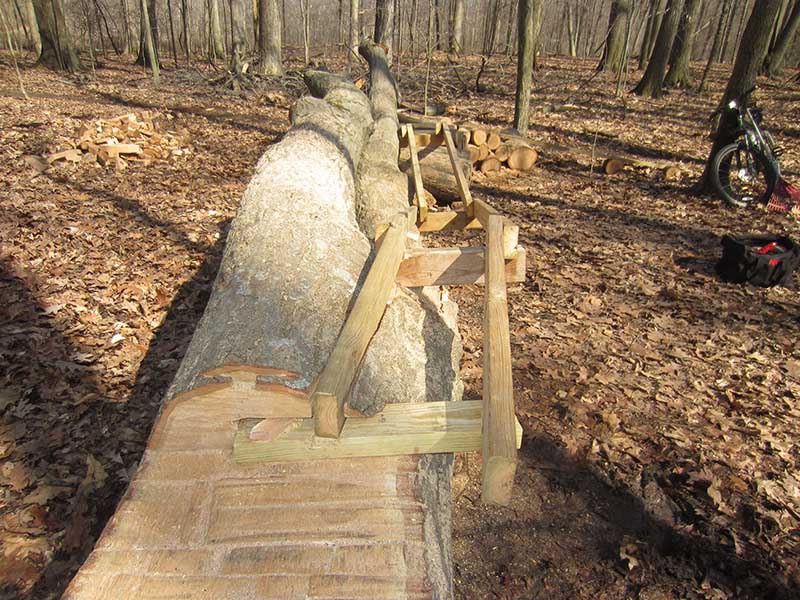
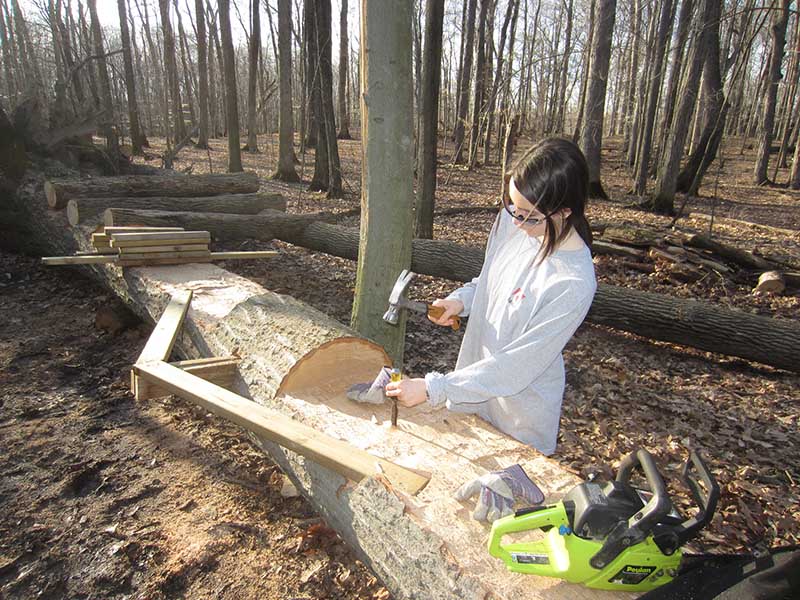
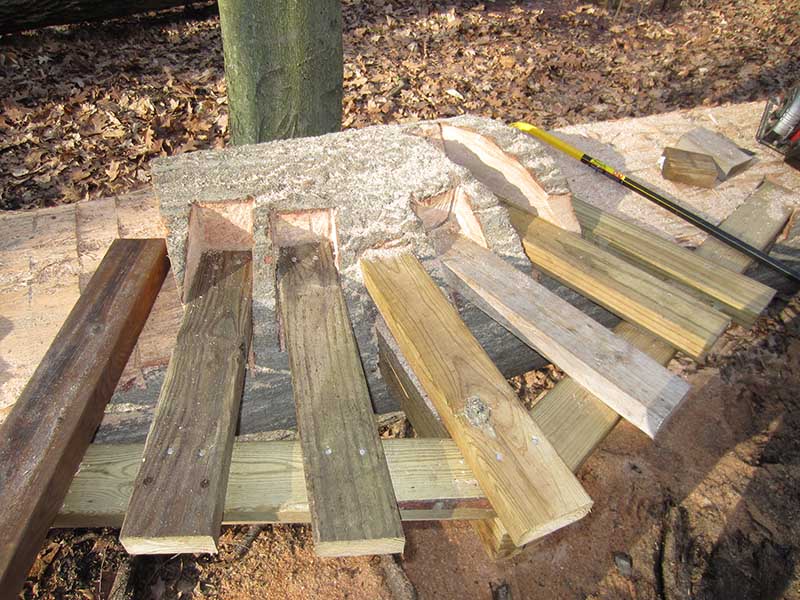
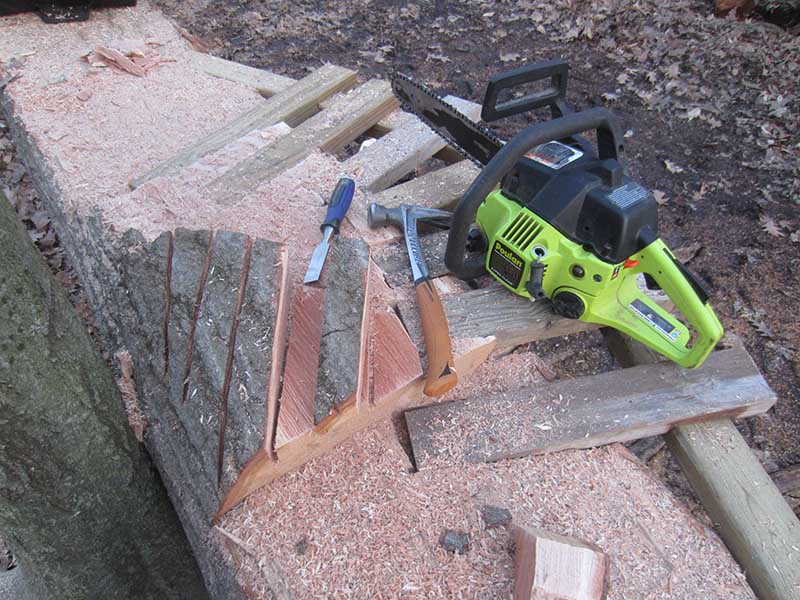
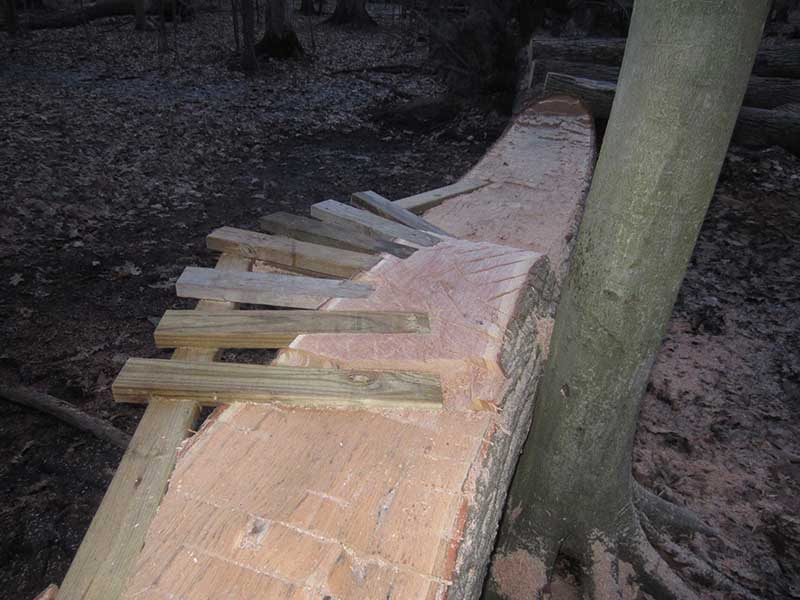
Flattening the top of the big tree begins: chainsaw, hammer, chisel. (Later - the width of this log creates about a 21" deck - very easy to ride)

April 13th, 2013 - Burchfield trail day
Brindley using the sledgehammer to remove the pieces created by the chainsaw, to flatten the top of the log.
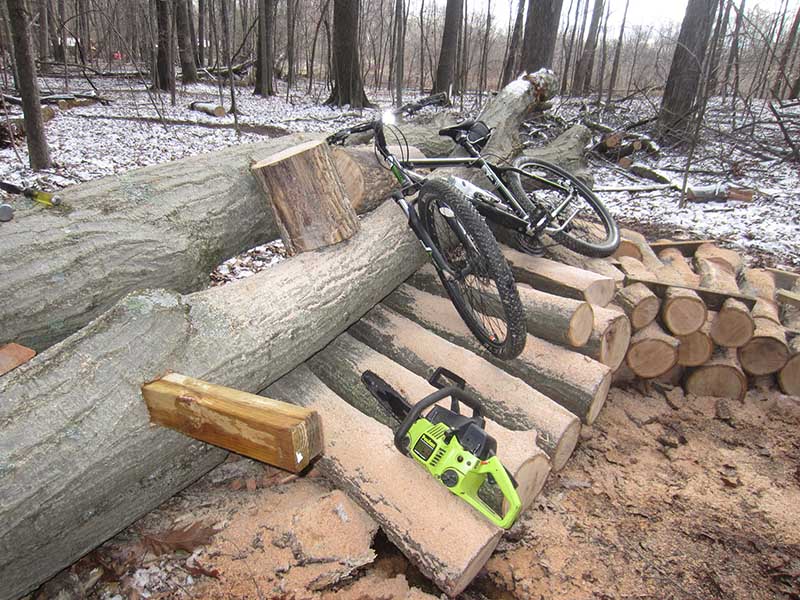
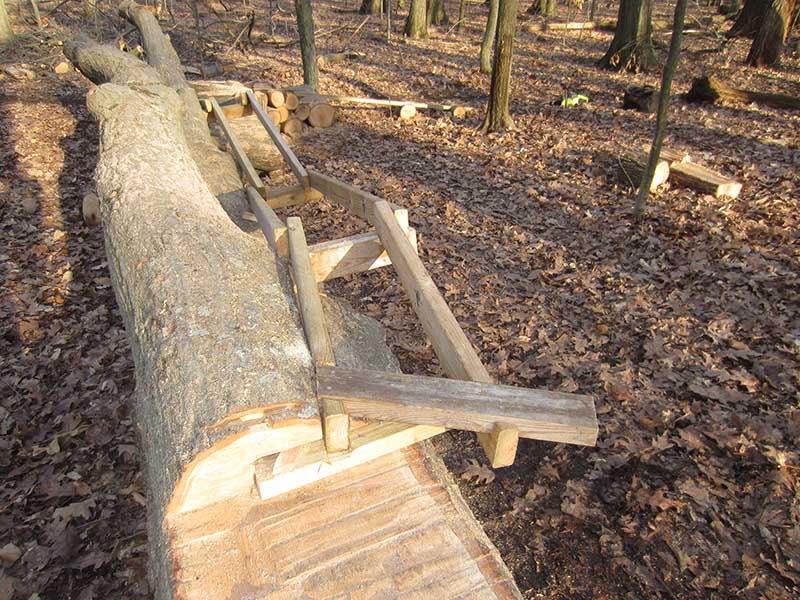
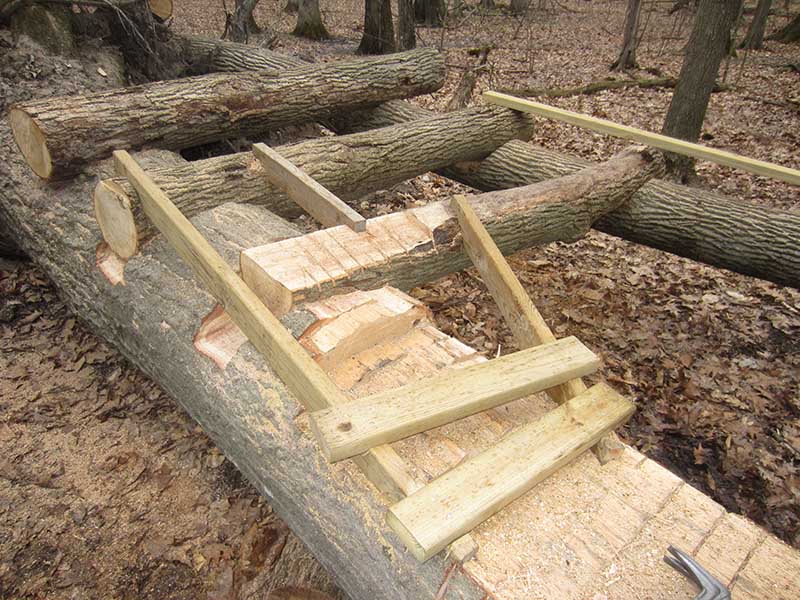
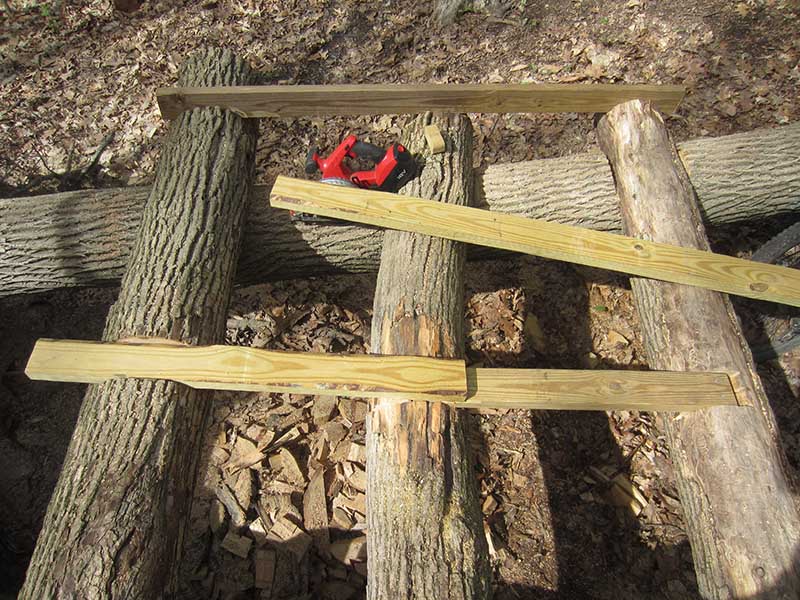
The base for the turn-around platform.
Platform logs counter-sunk into the base logs for stability.
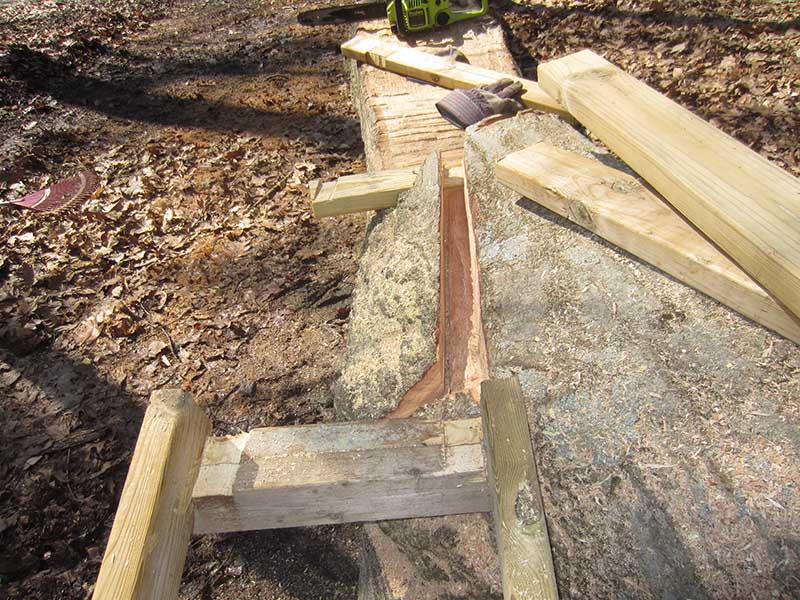
The 2" x 4" entry ramp is not that difficult, but it looks intimidating. This should serve the purpose of keeping inexperienced riders from trying it. Unfortunately, there's no way to stop them from pulling their bikes up onto the top and trying it from there.
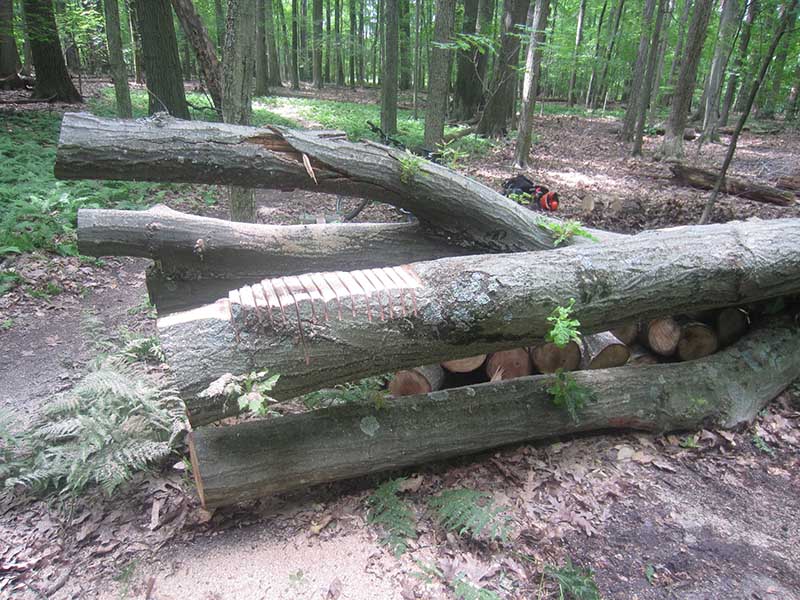
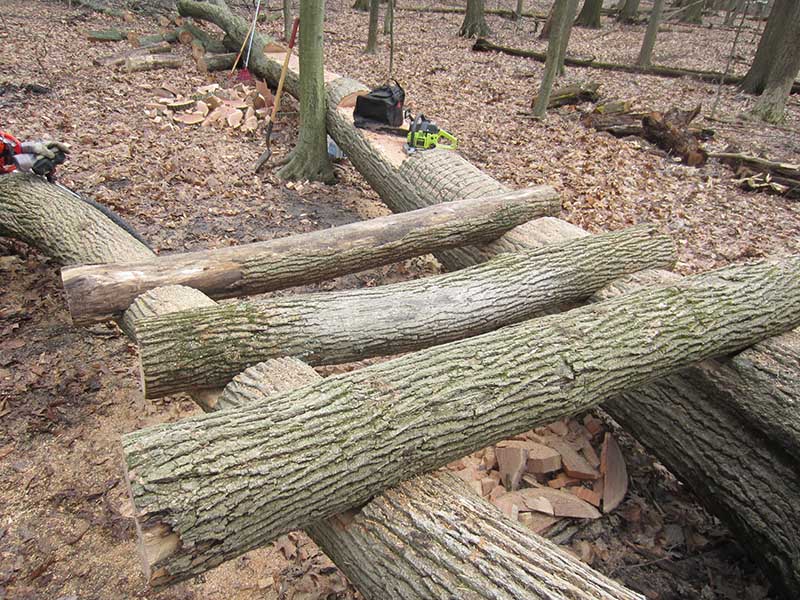
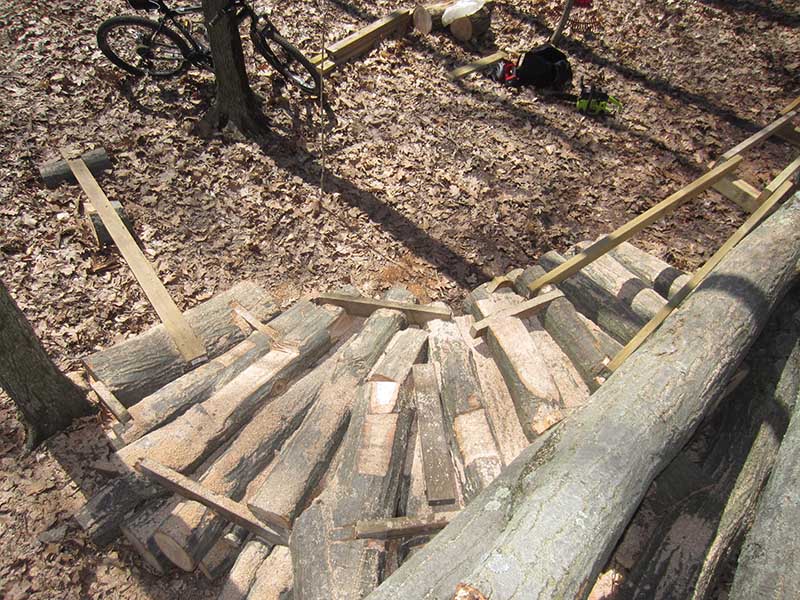
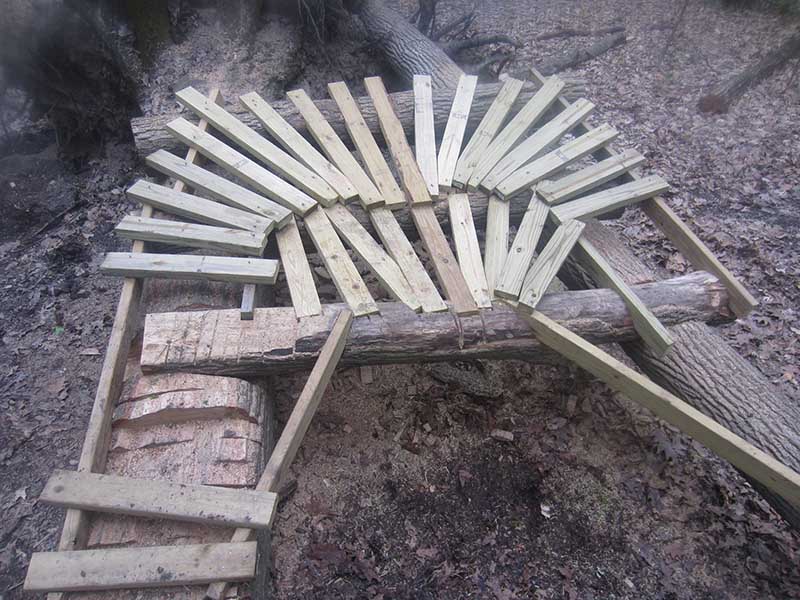
The rustic log pile turn before stabilizing and smoothing. I was able to pull in a lot of wood from the top of the tree, which was lying across the trail reroute. I spent quite a while positioning the pieces so they wouldn't move around.
View of the base logs and platform, from the exit. (Later - it turns out that the stunt can be ridden backwards, but only by highly skilled riders)

April 20th, 2013
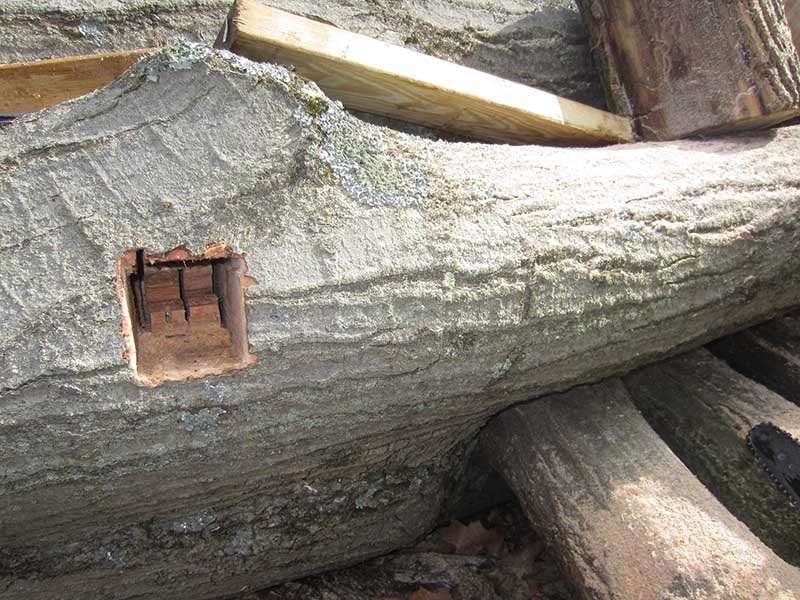
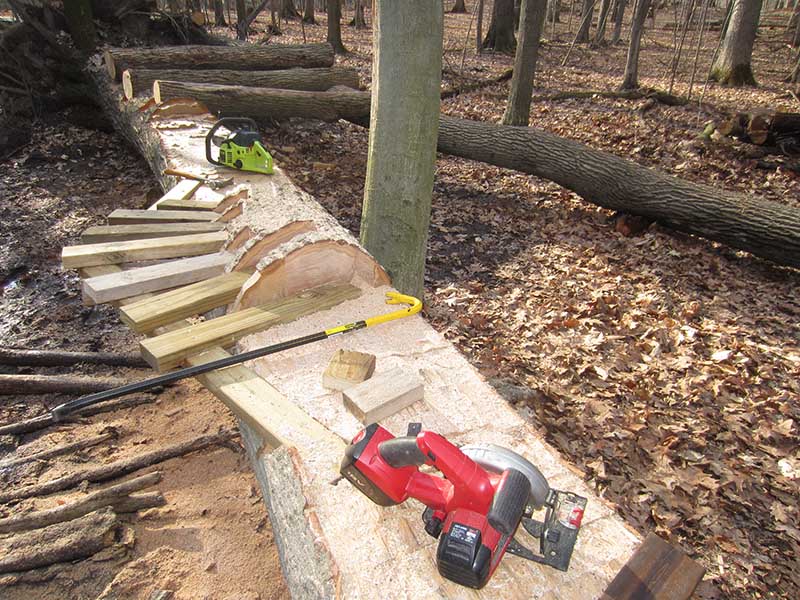
Cutting the hole for a gangplank. With my 14" chainsaw blade, it's one blade width wide and just over one blade width high. It's a bit awkward to get the wood out from the inside, I just kept jamming the blade in at different angles and chipping the pieces out, first with a chisel, and then with a wrecking bar.
Here's the first gangplank, completed. You can't adjust the angle once it's in place, so you have to go with whatever angle you created with the initial sinking of the saw into the log. This turned out to be angled slightly toward the log, but it rides well and isn't very noticeable.
Several gangplanks in a row will support an elevated deck, with undulations that give it some character beyond just a flat deck.
 |
 |
 |
April 21st, 2013
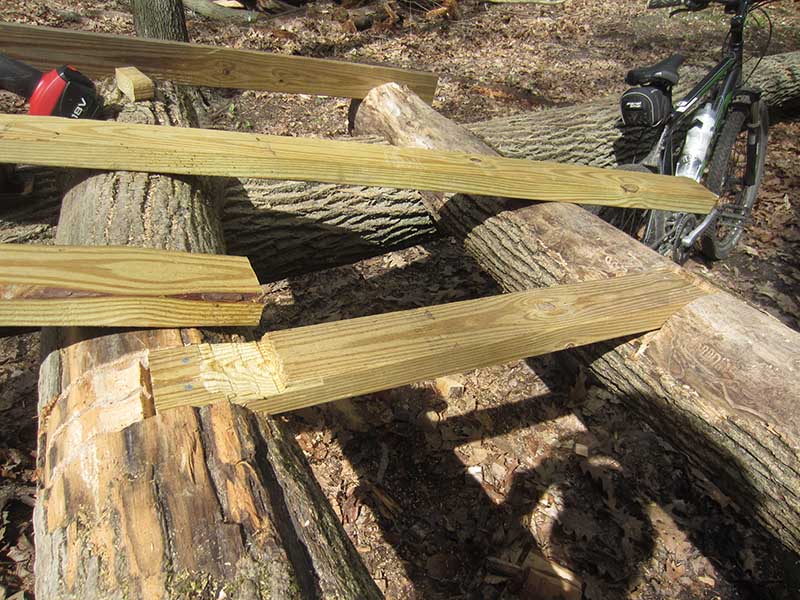
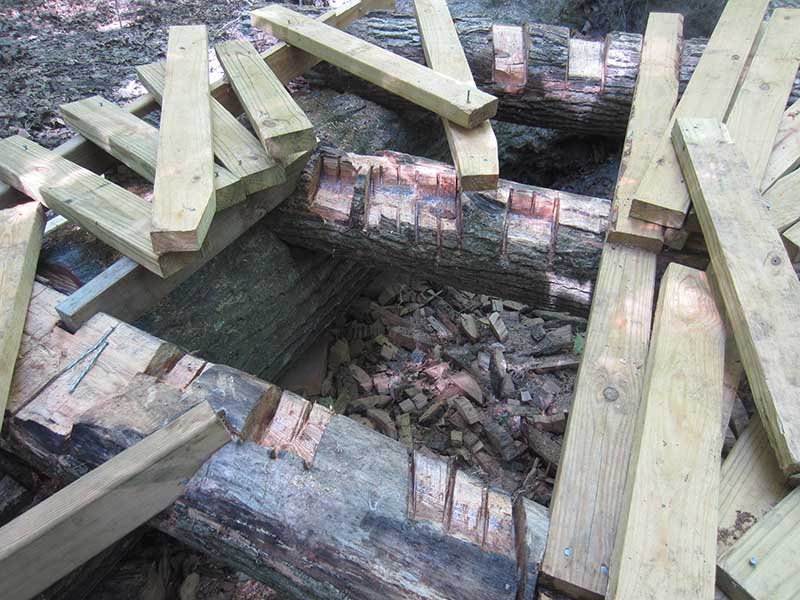
Counter-sinking the last stringer into the base log.
Stringers placed on gangplanks, merging to a drop onto the flat. I had to come up with a different way to anchor the support for the outside stringer.
The woodpile turn leads to elevated deck. Most of my falls during test rides are on the inside of this corner.
April 21st, 2013
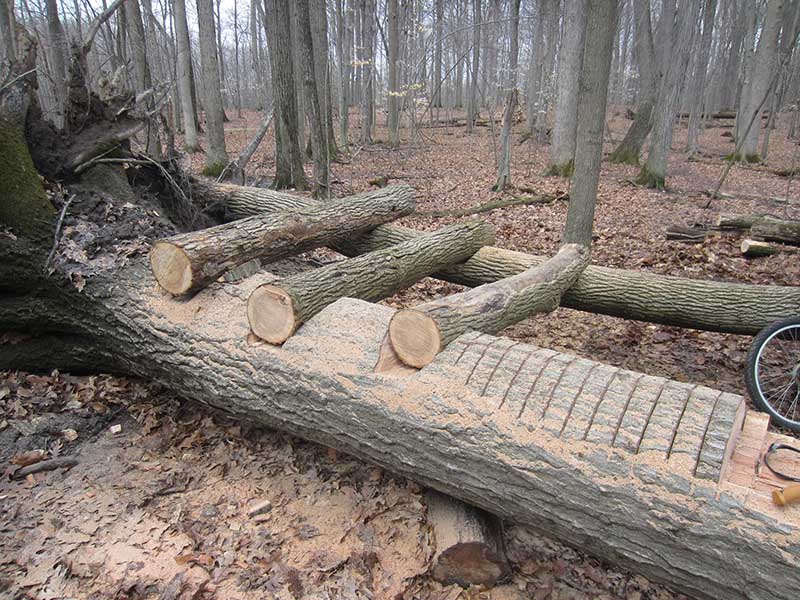
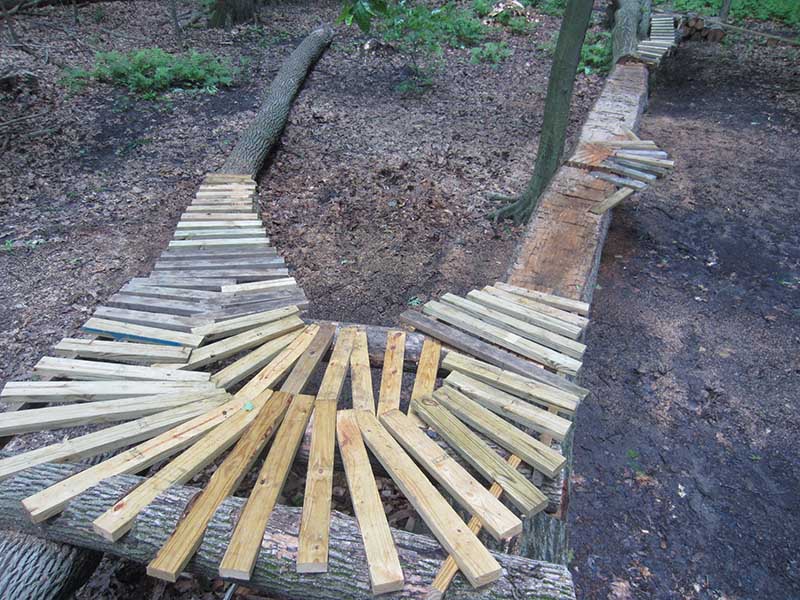
Skinny entry, woodpile turn, elevated deck to flat top.
Top view, before final smoothing, and before final gap-closing (by nailing boards into the gaps).
April 22nd, 2013
Building a foundation for the mid-air bypass on a gangplank.

April 22nd, 2013
Doing more smoothing on the woodpile turn.
Foundation laid in for the mid-air tree bypass. Christina with the chisel.
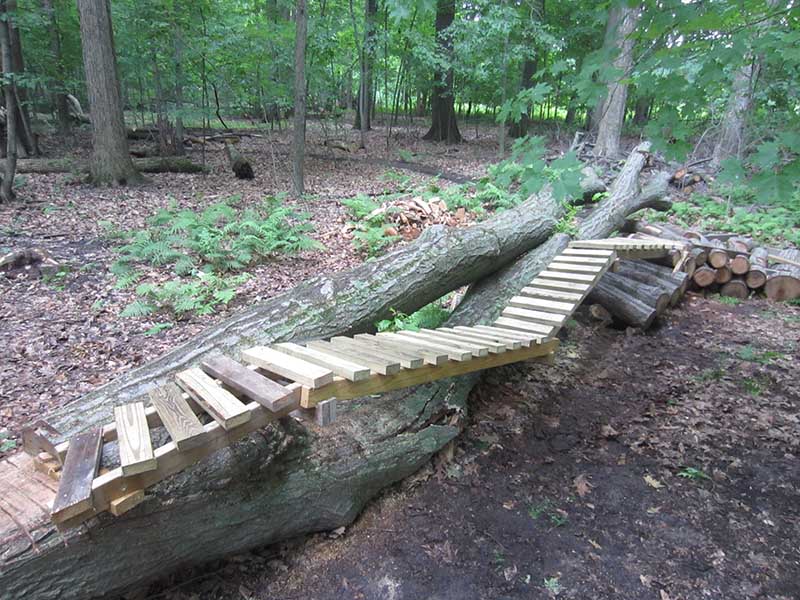
I counter-sunk this deck board into the stringer to provide a lower drop onto flat-top. (Later - this rides quite smoothly)
April 25th, 2013
Adding deck boards to the mid-air bypass. Note the sticks on the ground to allow us to stand in the mud while building.
Before flattening the log to the same height as the deck boards.
There should be enough room to avoid a handlebar touching the tree on the way to the platform (still to be built) at the end. (Later - there's lots of room, I made it wider than it needed to be)

April 26th, 2013
Flattening the log out to the right height. Chainsaw, chisel, and hammer do the job fairly quickly.
It would have looked prettier if I had shaved the log down first, then counter-sunk equal-length boards into it. Oh well, I learn something new every time I build one of these stunts. Next time I will know.
So apparently I made it a lot wider than it needed to be. However, that just gives riders more margin for error, and this high off the ground that will be a relief.
April 28th, 2013
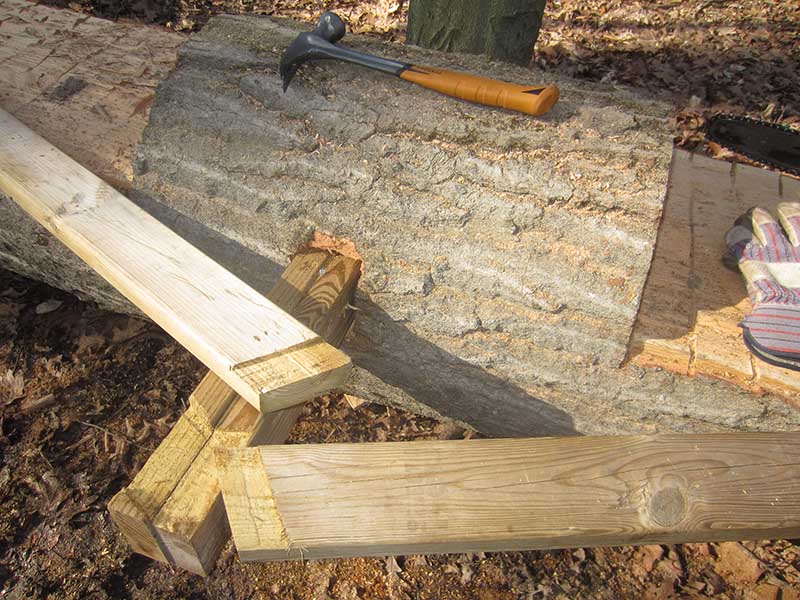
I replaced this stringer on the entry, after hearing cracking noises when I walked on it, and seeing the two mirror-image knots. Like the one on Hellboy, it would have cracked and broken eventually. These stringers went without deck boards for a long time, and I often walked on them to make sure they were staying strong.
Starting on the turnaround platform. I haven't decided what to do with it yet, but I will need the front tire to go all the way left, and the rear tire will be more to the right, regardless of what I create.
Note the imprints in the mud where I removed the sticks I used to stand on while building the bypass. Thanks to Christina for help with raking out the fall zone. Just nice, soft mud for us to fall into now!
May 5th, 2013
Not enough room to fan the deck boards together, so I need to create an upper and a lower section, with the upper section boards overlaid on the lower section boards. Note the notching of the top board into the bottom board.
The overlaid boards at the bottom are the center of the fanned boards. Filling the platform in will be tricky and require lots of counter-sinking and narrowing the tight ends of the boards so that the gaps aren't too large at the loose ends.
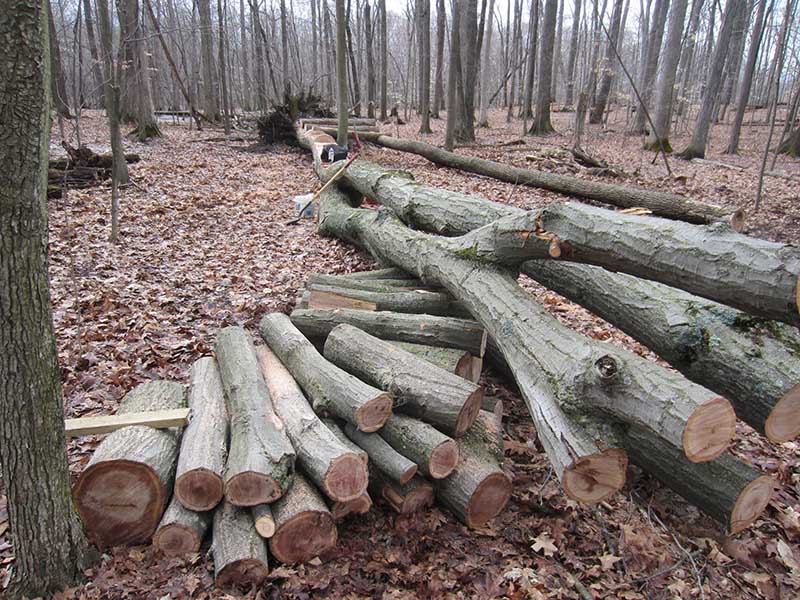
The foundation of the platform at the end of the day. The exit onto the smaller log has one stringer in place. I am concerned that the smaller log will settle on the rootball and move lower, so I am going to think about a way to brace it.

May 11th and 12th, 2013
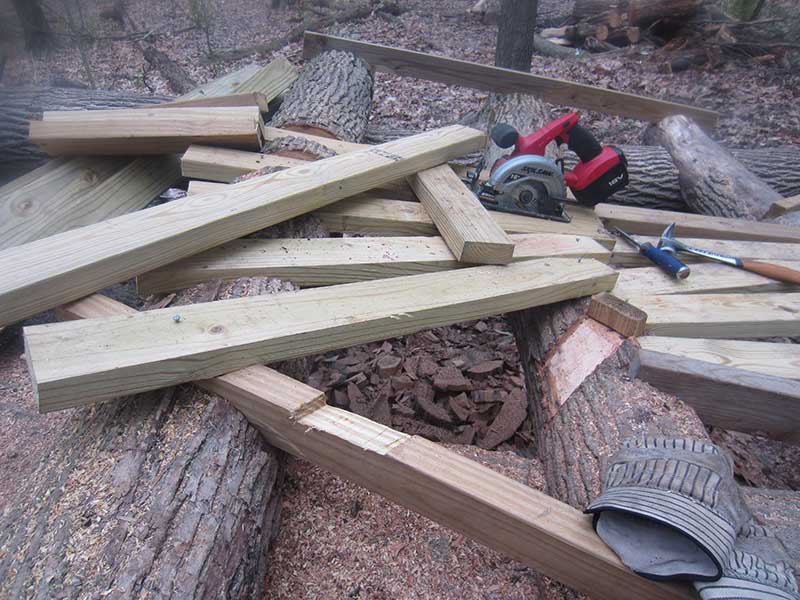
I'm adding boards between gaps in the logs, where my front tire gets stuck during test rides. In keeping with the rustic look of the woodpile turn, I'm using older wood that can easily be replaced when needed. I'm using the better wood for stringers.
An example of the counter-sinking that needs to be done when supports are not even on both sides. It also keeps the deck boards in place and removes any sideways strain on the nails. The little chunk of wood by the chisel isn't permanent - I used it to brace the camera when making a video of the counter-sinking.
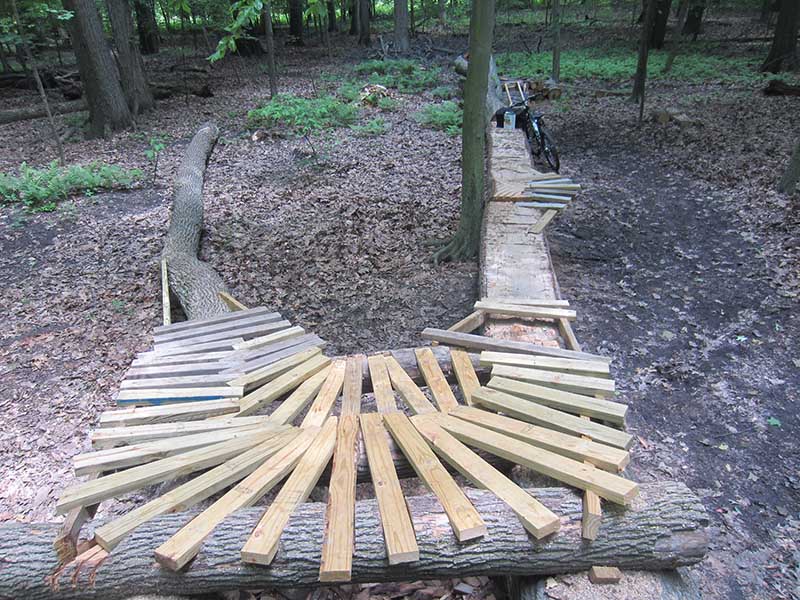
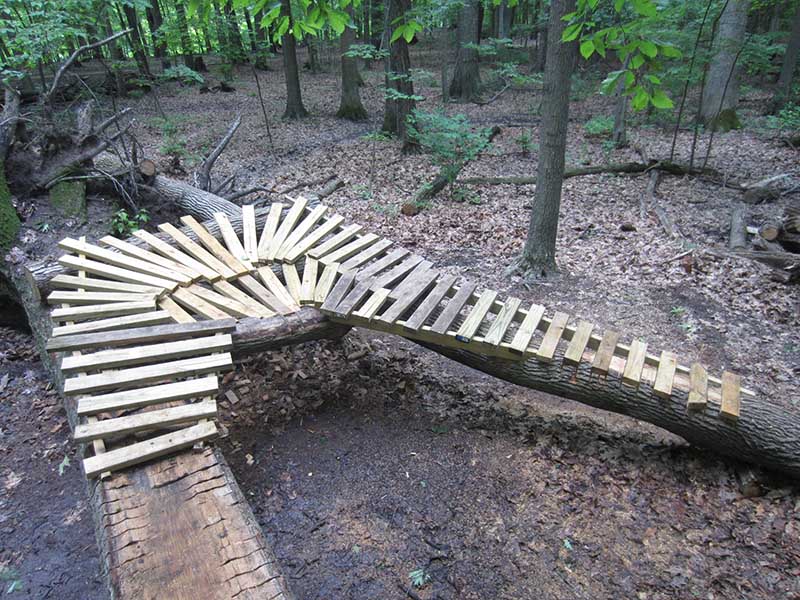
Today I put in a lot more of the fanned deck boards for the turnaround platform. Click on the picture to see more closely how many boards needed to be cut narrower on the tight side to achieve the fanning. This turn is surprisingly tight and will be quite exciting to ride. (Later - yes, it is very tight when actually riding it)

June 8th, 2013
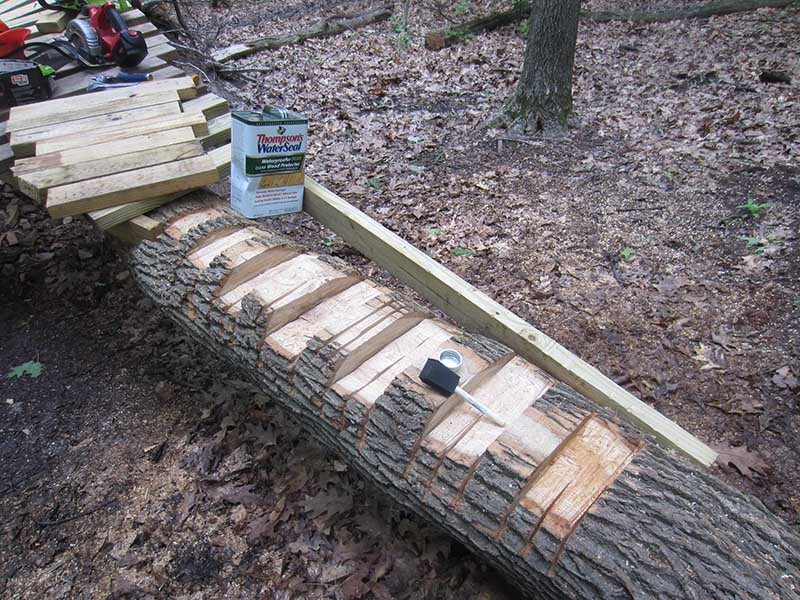
I stayed away from Burchfield for a few weeks, due to the reports of aggressive mosquito swarms. Who wants to stay in one spot for hours when they're there? In this photo, I pulled up the boards and then applied a waterproofing treatment to the cut wood.
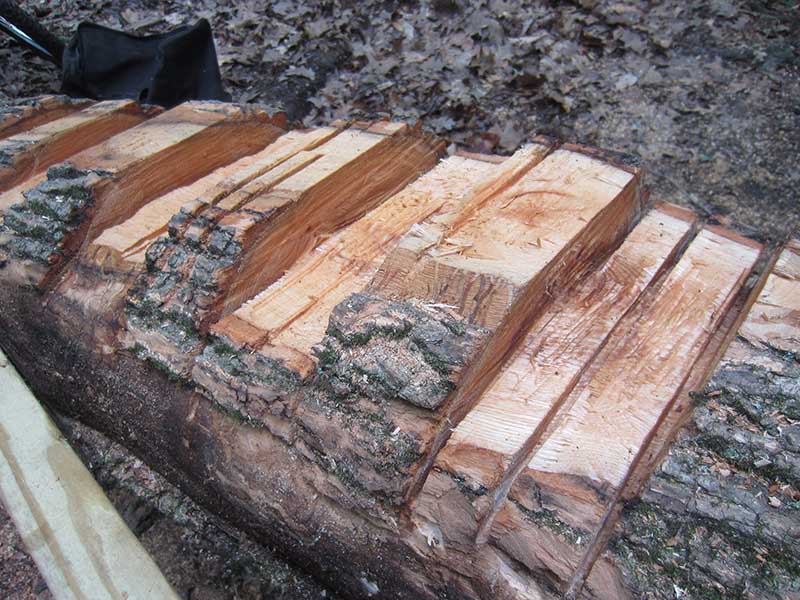
I noticed a LOT of sawdust clogging up the water channels when I pulled the boards up, due to nearby chainsawing. So now I will work with a tarp covering areas where I've cut into the base logs.
I added a few more deck boards for the turn, and put the stringer in the upper left into place. It will provide a foundation for the entry onto the final section - the log will not be decked or shaved, we will ride it as it is. I've test-ridden it from just past the end of the stringer, and it is possible.
June 15th, 2013
The mosquitoes are still pretty bad out there, but with a long-sleeved shirt and jeans, and enough repellent, work can be done. Here, you can see the counter-sunken grooves and water channels, before applying waterproofing. Do them all at once, blow the sawdust out, then apply the waterproofing and nail the boards down.
It rained after I left to buy more 2x4's, and the waterproofing was already doing its job, just within a few hours - I could see the water droplets sitting on top of the wood, not sinking in at all. Hopefully this will prolong the life of the stunt by a few years.
The turnaround is now completely decked, if I get my hands on some shingles I will put them on to indicate the line, which is to stay to the extreme outside all the way around, to line up on the left side of the final boards on the downslope before the log ride exit.
June 15th, 2013
I finally was able to put deck boards on these stringers, which had sat without them on their gangplank foundations for weeks while I worked on the middle sections. I left this part for the end so nobody would ride up onto an unfinished stunt.
These deck boards felt firm on their gangplank foundations. The boards are wider than I had originally thought I would make them, but with the undulations it should be fun anyway. The transition onto the flattened log might be a bit tricky to ride. (Later - no, it's easy to ride. I probably should have gone with a narrower deck)
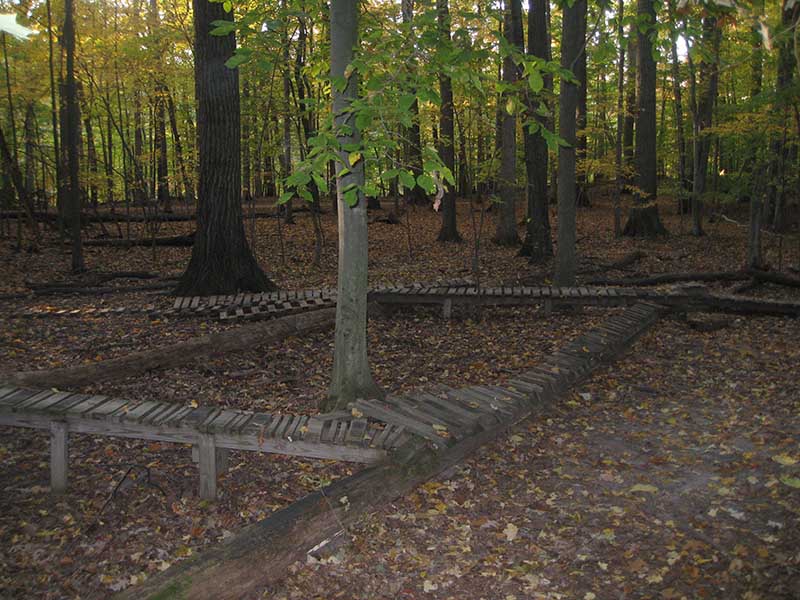
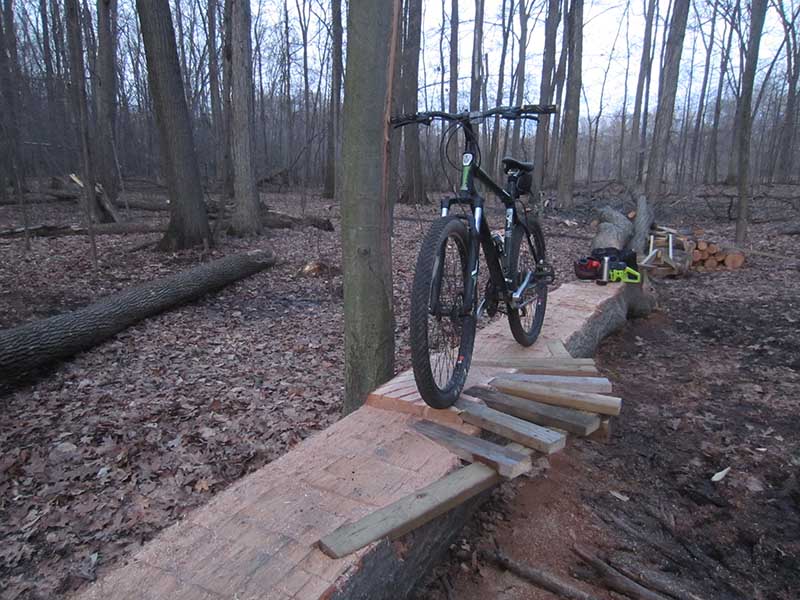
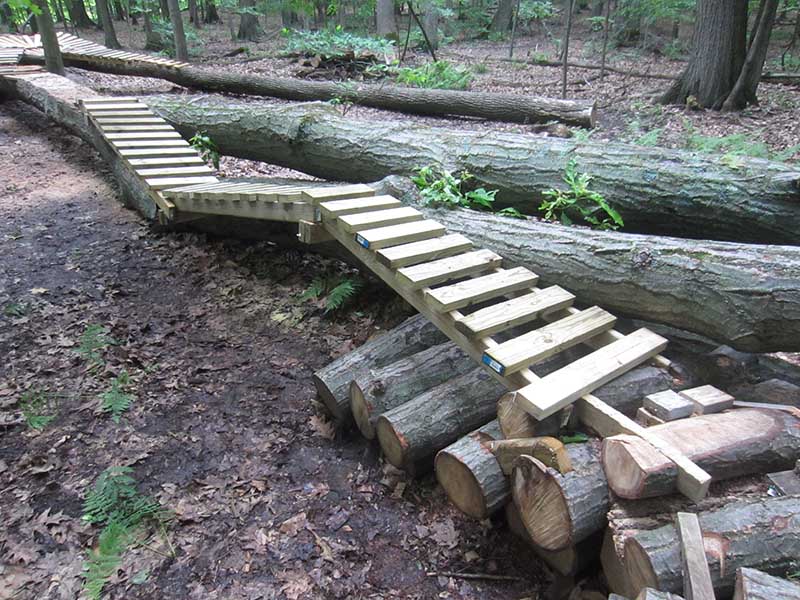
This view shows the entire stunt (click for a larger picture), which can now be ridden. I was unable to test-ride it because of the rain that came in the middle of today's building session. I was really looking forward to trying it. I have ridden the exit and the entrance previously. The middle sections should be straightforward. (Later - it turns out that this platform is pretty tight for making the turn. One rider was stopping and hopping the front tire, and I kept having to touch a foot down. Hopefully I will get used to it as I ride it more, and be able to make the turn cleanly)
June 22nd, 2013
This morning, the Weather Channel showed seven consecutive days of scattered and isolated thunderstorms on the way. Since I had to finish raking out the fall zones anyway, I decided to use an unused bag of lawn seed I had in the garage. Hopefully I won't have to pack any water up from the river at all.
I cleared the exit log's fall zones as well, and did some more cutting down of the stump on the right at the end (click on the picture to see a larger one). It wouldn't be pleasant to fall onto it, but I'm thinking that anybody that can get this far on the stunt won't be falling there anyway. Didn't see any rain this day at all (or the next day, when I'm actually writing this).
Fulfilling a request from Nate, to flatten off the end of this piece so that he can ride it and drop off the end back onto the trail. It was curving down at the end, so there are two levels here - I hope that won't be an issue. If it is, I can cut it off. Nate - email me if you see this, and let me know.